
If you are feeling lower back pain there is a good chance that the cause is a tight and short psoas muscle (pronounced SO-as). This large internal muscle connects the lumbar spine with the giant femur, literally threading through the pelvis to connect the torso and the legs. It is used when you lift, jump, run, walk, do yoga or even just sit, as it helps stabilize your spine.
The psoas is hard to see and hard to stretch, but a tight psoas is easy to feel and usually manifests in lower back pain or hip pain. Fortunately, we can show you how to treat a tight psoas with equipment you can find in the gym. This is known as a self-myofascial release exercise, which is basically do-it-yourself soft tissue massage.
The psoas originates along the transverse processes of T12-L5 vertebrae, so literally the entire lumbar spine. It then passes through your internal organs, crosses the front of the pelvis and attaches to the lesser trochanter (small knuckle) of the giant femur bone.
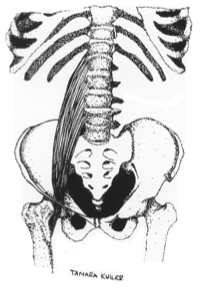
Figure 1: Position of the psoas
If the muscle becomes really tight and short due to excess hip flexion over time, it can pull like claws on the lumbar spine, effectively clamping the spine together and causing an anterior (forward) tilt of the pelvis.
While the psoas’ main role is to flex the hip, it also assists in flexing the leg, and flexing the torso with the leg stabilized, bringing the body up from a lying down position (for example, doing sit ups). It also does a lot more when it interacts with another muscle called the illiacus. Together they form the illio-psoas, one of the most powerful muscles in the hip-flexor group.
Because of the nature of the muscle, a release or active release via self-myofascial release (SMR) is important to do before stretching so the neuromuscular components of the muscle – being the spindle cells and golgi tendons – can get different feedback, which then allows them to start re-setting the muscle length.
Step 1: The release
SMR is a term used for any self-administered soft tissue release, usually with the use of a tool such as a foam roller or a massage ball. However for the psoas it is best to use a rubber-coated weight plate or a kettlebell, which allow for easier access to the muscle itself. Watch the video below to see a demonstration.
As you can see from the video, the pressure is applied on the edge of the muscle, closer to the illiopsoas portion, but effectively it is the same structure and can be resolved in the same way.
Step 2: The stretch
After releasing the tension we need to create length through the muscle, first by pushing the pelvis forward. In that position, you want to have a neutral spine. It may be necessary to tuck the pelvis under which should create more stretch. Then push forward again until you feel the psoas stretch. If necessary, you can gain more stretch by leaning over to the opposite side (see figure 3 below). You want to hold the stretch for a minimum of 45 seconds, at which point the spindles will start to let go and you start creating length. Remember, as with any stretch, to breath mindfully. The muscles will want to let go on the exhale, and tighten on the inhale, so breath out slowly as you push forward.
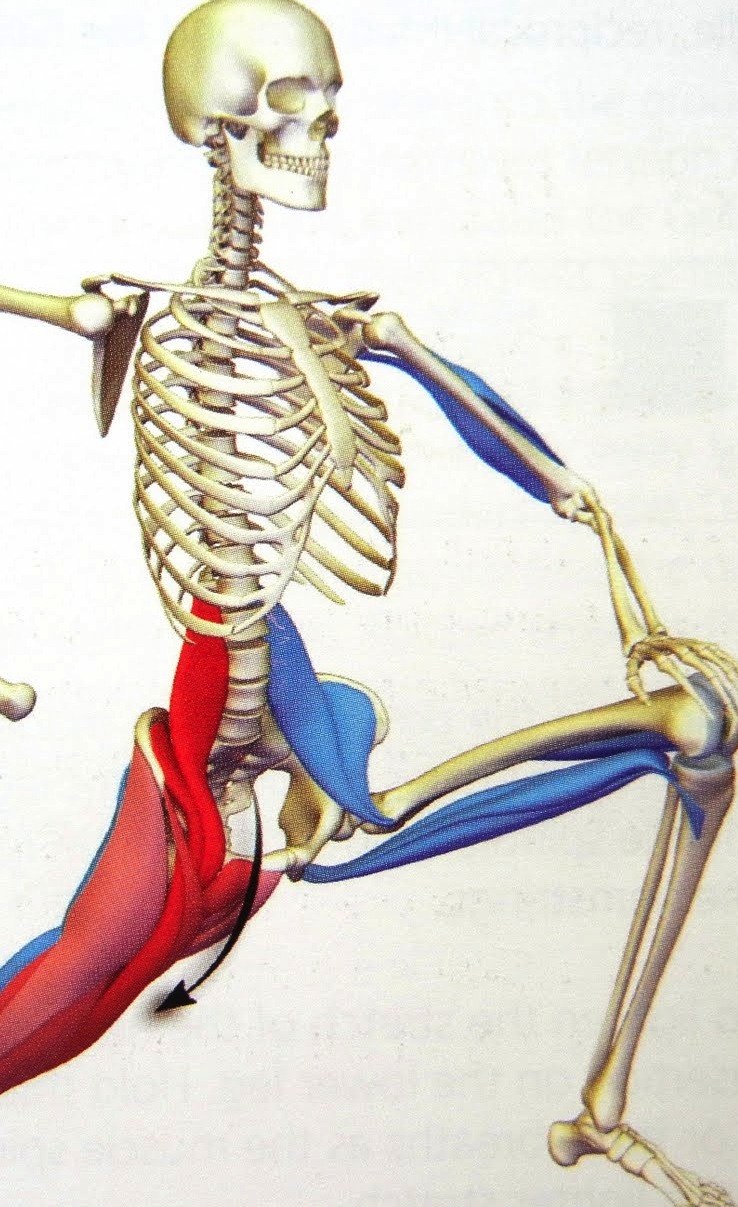
Figure 1: Stretching the psoas

Figure 2: Lean over to the opposite side to create more stretch.
As a general rule, stretching and SMR should be done either at the end of training or as a stand-alone session. Mobilizations and active stretches can be done before training to warm up the muscle and joints but leave the lengthening for last in the session, when the muscles are warm.
If you are experiencing any mild lower back pain, this exercise can be useful to do a few times per week, but if you have any questions on the application, please ask Ambrose or Nick at Mind & Body who will be happy to guide you through process.
If however you are experiencing severe and/or chronic back pain, please either consult your regular musculoskeletal practitioner, or visit ACM where we can assess you further and guide you from there.
Good luck!
No Comments to "Lower Back Pain DIY Massage"